XPressEntry Client Documentation
1.Purpose
This web page is intended to provide information on all facets of the XPressEntry Client. This page will assist the user with installation, configuration, and general use of the application.
2.Welcome
The XPressEntry Client is an add on component to the XPressEntry Server software. The purpose of the system is to provide a view into the XPressEntry system with limited access to the system.
2.1.Software Installation
The XPressEntry Client is built to be installed on a Windows machine running Windows 7 or newer. The XPressEntry Client requires dot net framework 4.6.2 or higher to be installed. The installer is provided in a download link or physical media by Telaeris.
To install, run the XPressEntry Client installer. Navigate through the installer and select finish.
2.2.First Run
After installation, run the XPressEntry Client application. You will first see a log in screen.
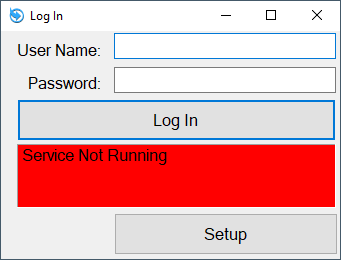
Select “Setup”
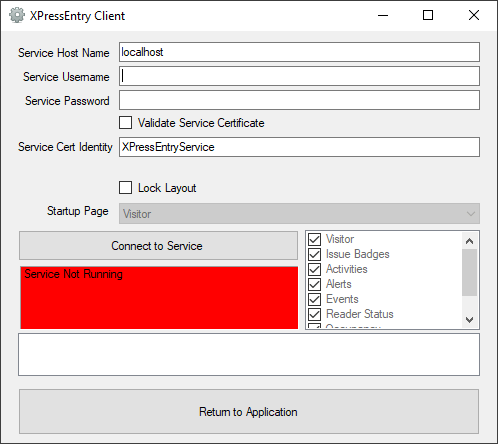
Enter the Host Name of the machine the XPressEntry Service is installed on. The client connects to the XPressEntry Service over TCP port 29999 (for detailed connectivity details, please see the network diagram here).
Service Username and Service Password are the username and password of an XPressEntry user with the ability to log into the XPressEntry Client. These fields are not saved, are not required, and are only used to test connectivity.
Select “Connect to Service” to verify the client can connect to the XPressEntry Service.
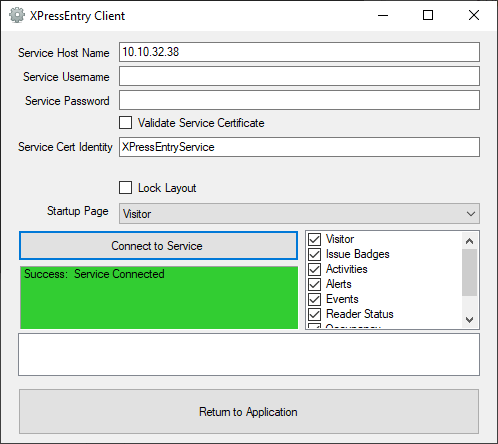
If the client is able to connect to the service, you will see one of two different results.
- Success: Service Connected
- Login Details are Incorrect
If the login details are not correct, check to make sure the username and password are correct. Also make sure that the user has a role with permission to log into the XPressEntry Client. Once you see “Success”, select “Return to Application”.
Return to Application will return you to the Log In form. Enter your Username and Password to enter the Client Application. It is recommended to log in with an admin user the first time you enter the application. This will allow you to finish configuring the application.
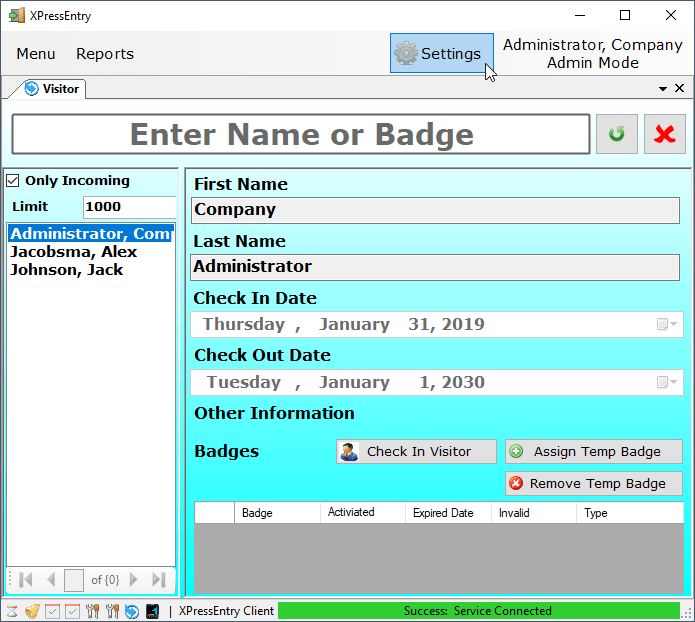
Select Settings. This will return you to the same settings form, except with more options enabled if you are logged in as an administrator.
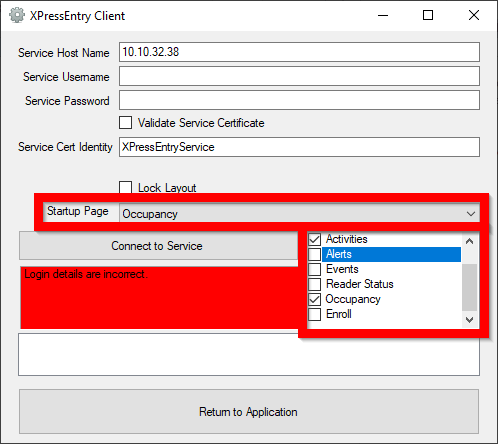
You can now set a startup page, and select which modes are enabled. Only an admin user can change these options. Non-admins with client log in permissions will be able to use these different modes, but not change the modes they have access to.
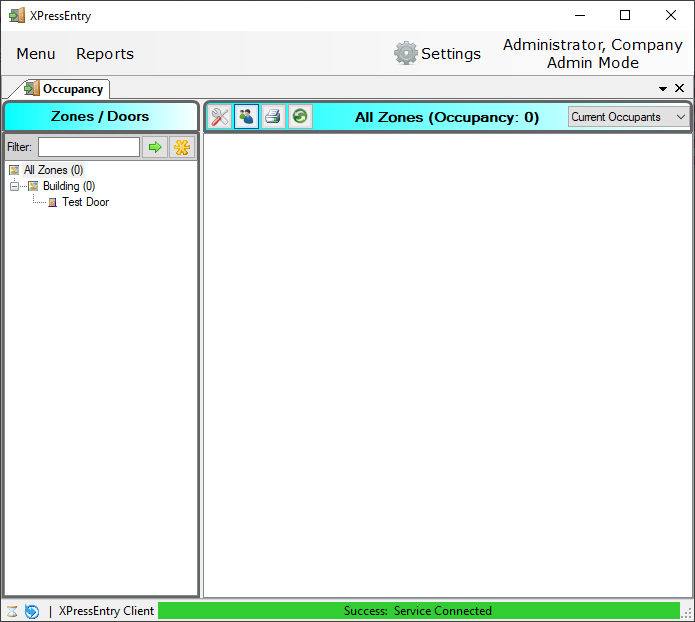
Upon logging back in, the available client modes are limited and the startup mode has been changed.

