Things you will need: #
- Wiegand Format (WF) File (File extension is .ini or .txt)
- USB Type A to micro USB cord
Steps: #
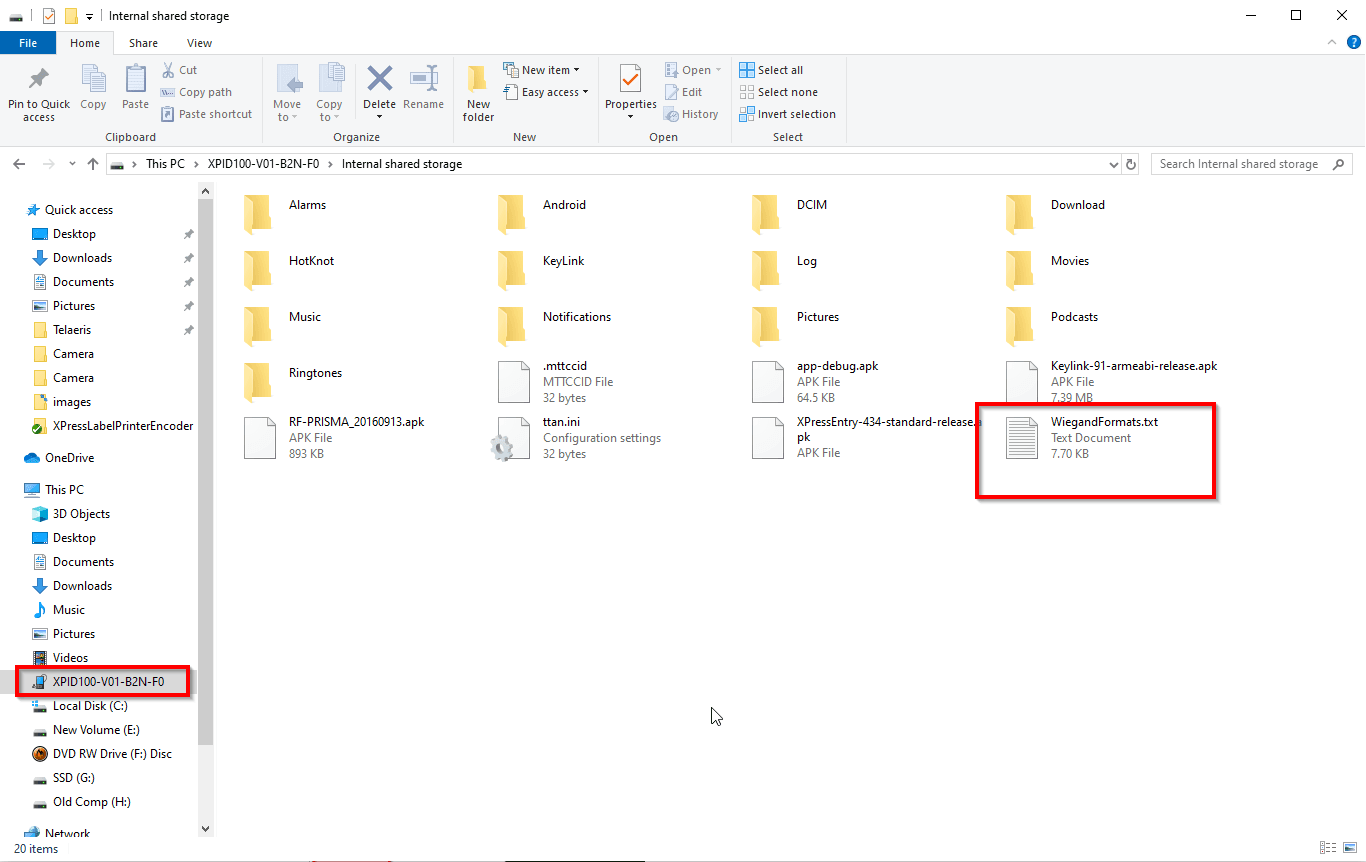
1. Save the WF.INI file to you local computer. (This may be provided by Telaeris) Depending upon the version of XPressEntry you are running on the XPID100, you may need to save the file as a .txt file. Please open the .INI in a text editor like Notepad and save as a .txt file (renaming and changing the file extension to .txt should also accomplish this).
2. Plug the XPID into your computer and transfer the Wiegand Format file via USB.
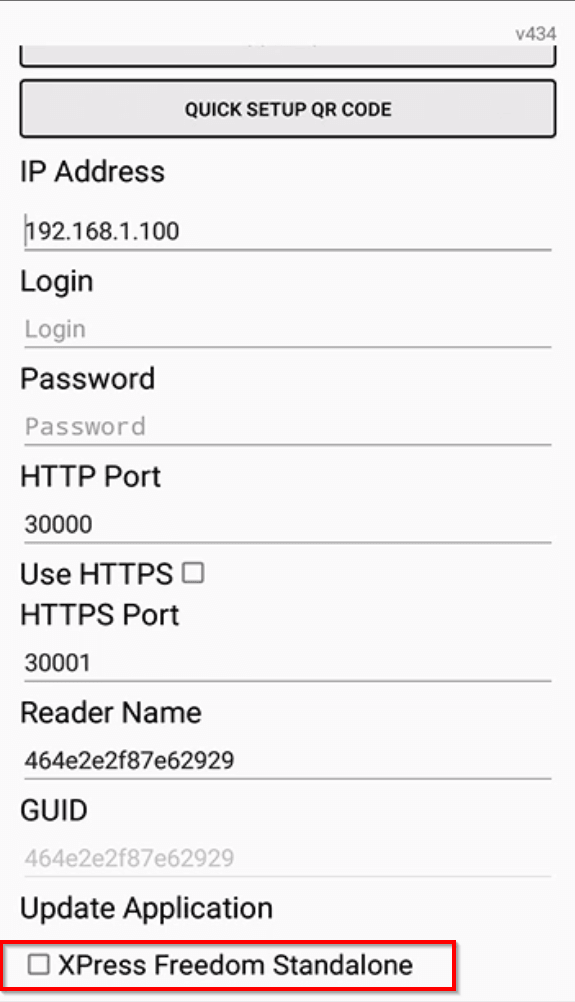
3. Open XPressEntry in Freedom Mode. If your XPID is new and not set up in Freedom Mode, on the Reader Set up page, please check “XPress Freedom Standalone” and select Yes.
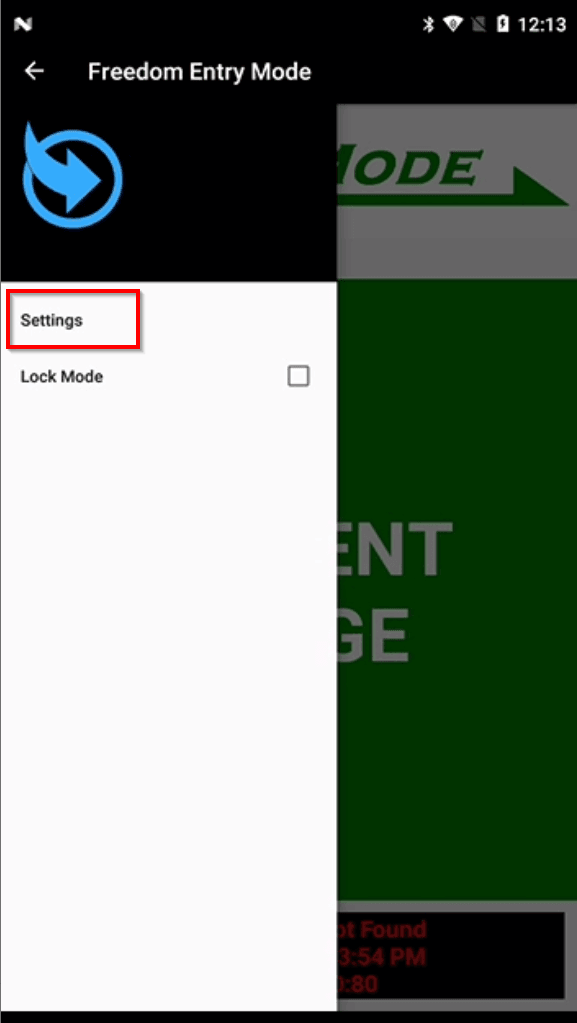
4. Press the menu button and open Settings.
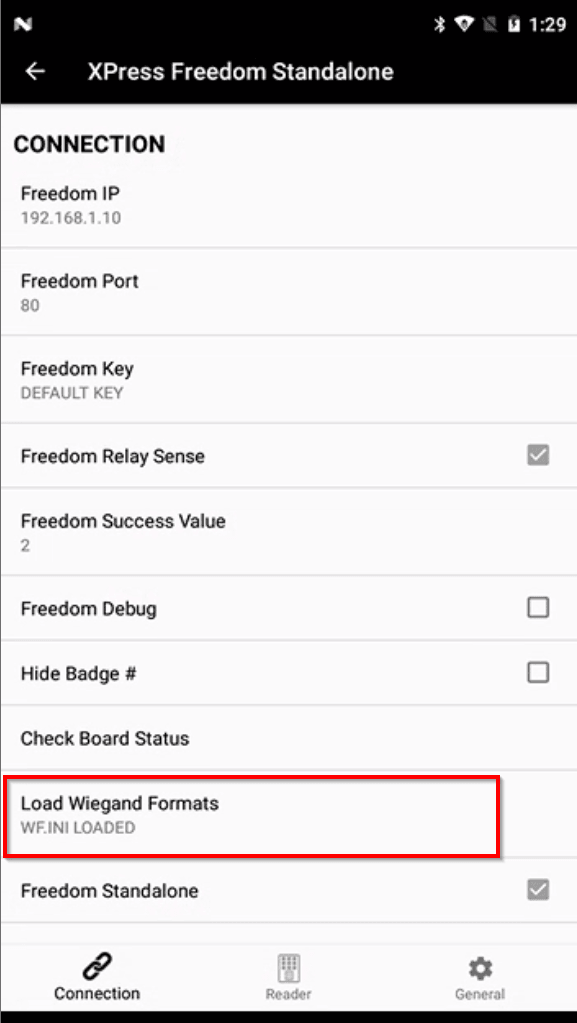
5. Press Load Wiegand Formats
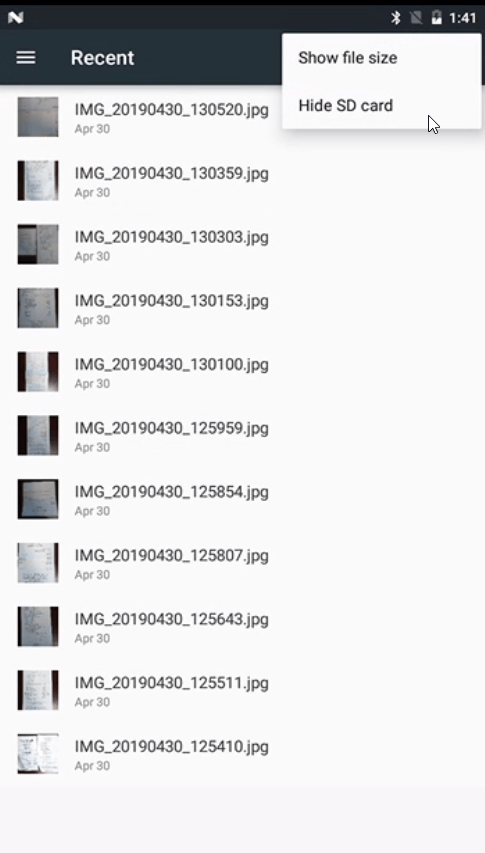
6. Press the Menu button on the top right, and select “Show SD Card”
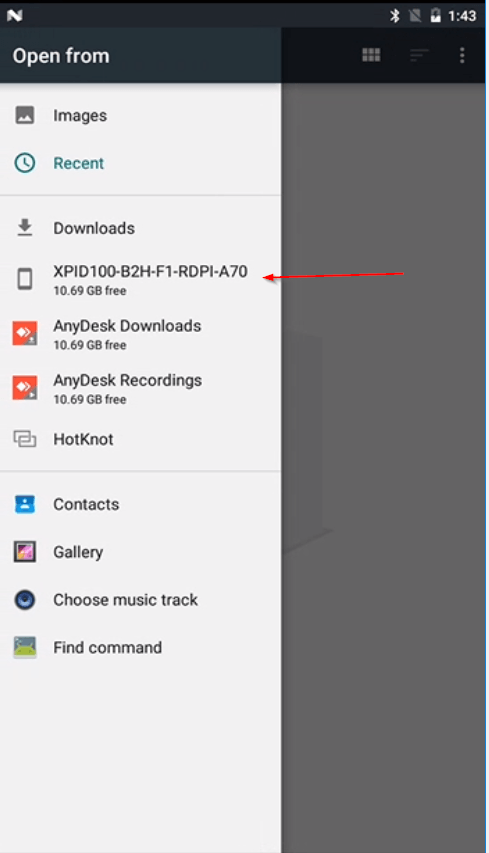
7. Press the Hamburger Icon on the Top Left. Then select XPID Device
8. Search for the WF file.
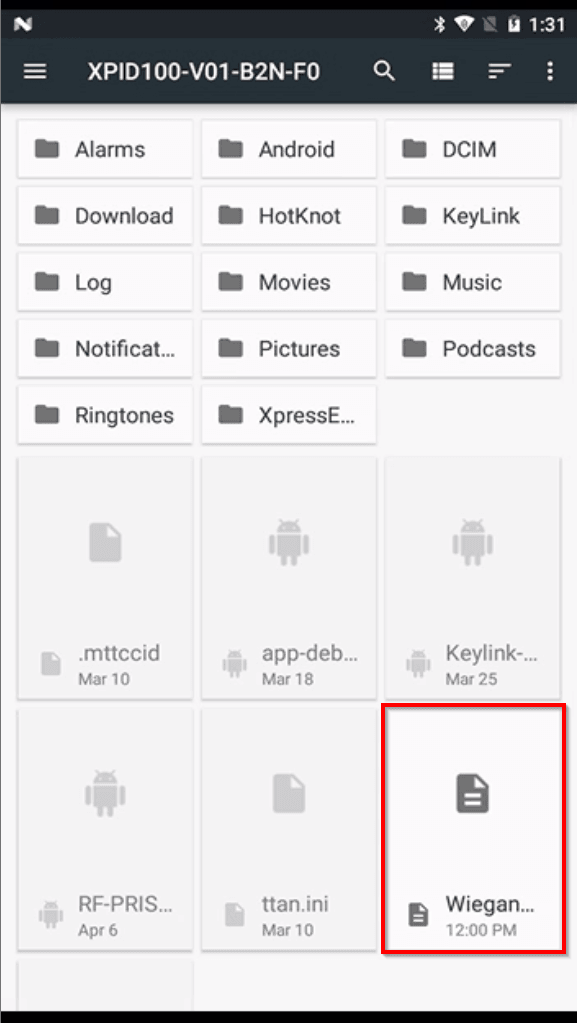
9. Select it, and XPressEntry will apply the Wiegand Formats.
10. Once done, resume normal operation on the Present Badge screen.
Congratulations! You have successfully uploaded new Wiegand Formats for your XPID. #
Troubleshooting: #
The WF.INI file may need to be changed to a .txt file depending on which XPressEntry version is installed on the XPID. Change the file format and copy the new version to the XPID.
If the upload still does not work, please contact [email protected] for assistance.