Table of Contents
Overview #
Keylink is the service that links the XPressEntry handheld app to the built-in XPressProx RFID reader. Until Keylink is started and the reader is connected, the device cannot read badges. This article walks through enabling the Keylink Service, connecting the reader, and confirming that badge scanning works.
Applies to: XPressEntry Handheld App (XPID 100 / 200 / 210) with an XPressProx reader
Step-by-Step Instructions #
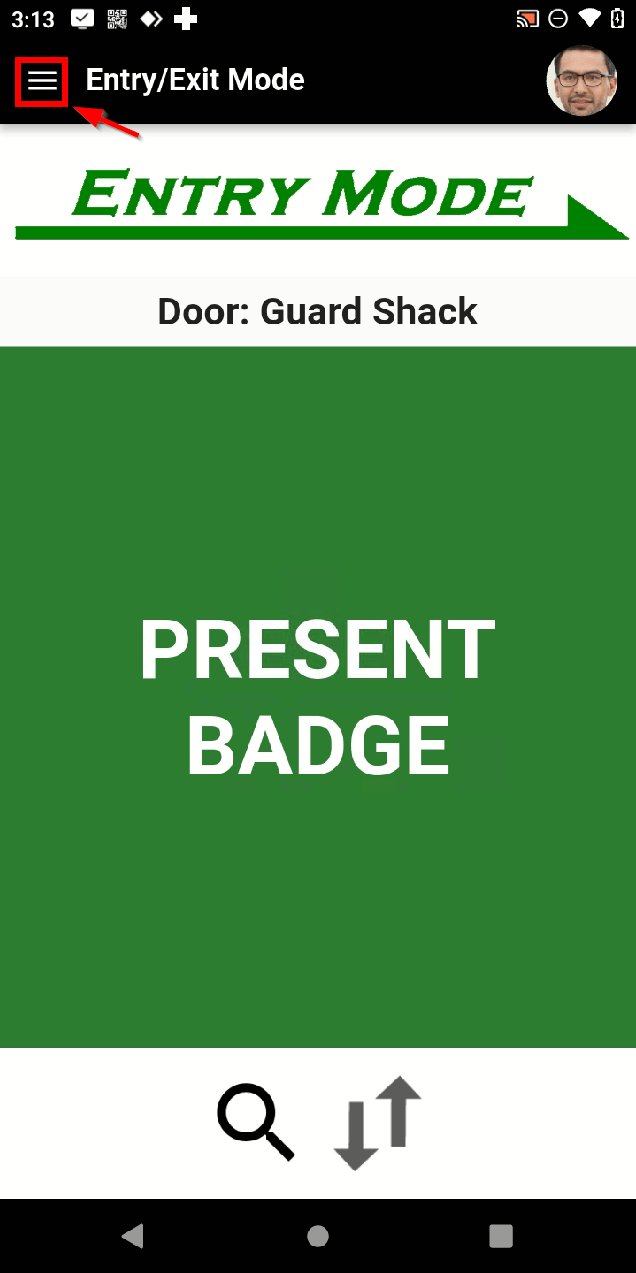
- From the Entry/Exit Mode screen, tap the menu icon (☰) in the top-left corner to open the navigation menu.
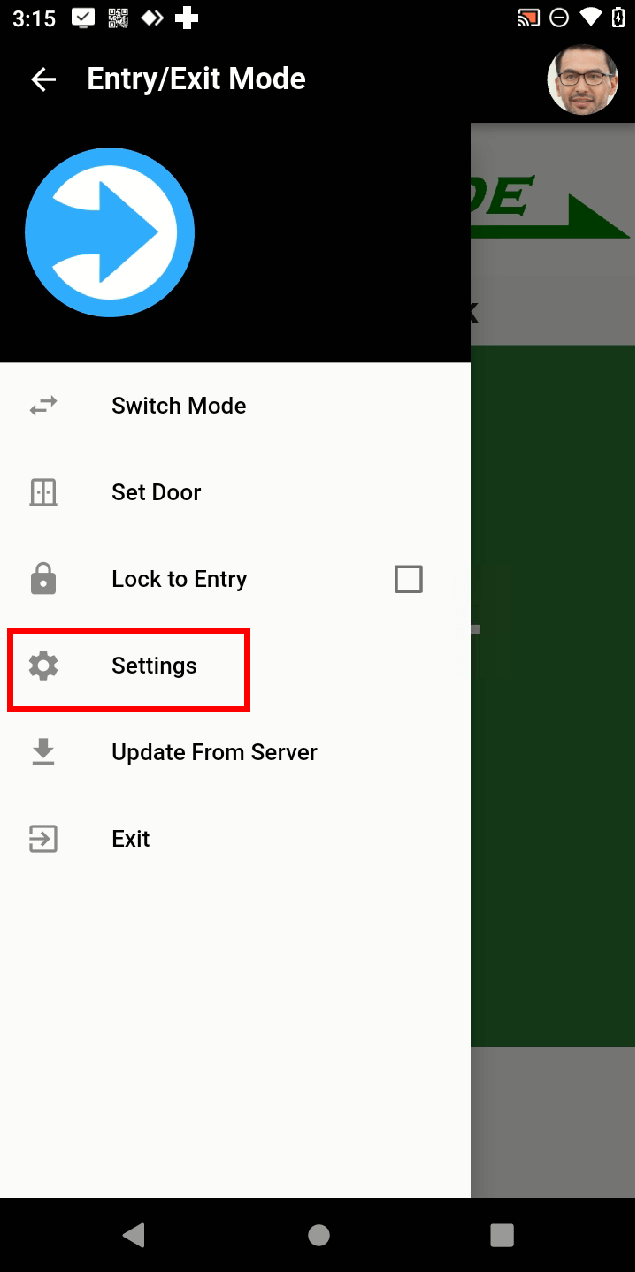
- In the slide-out menu, tap Settings.
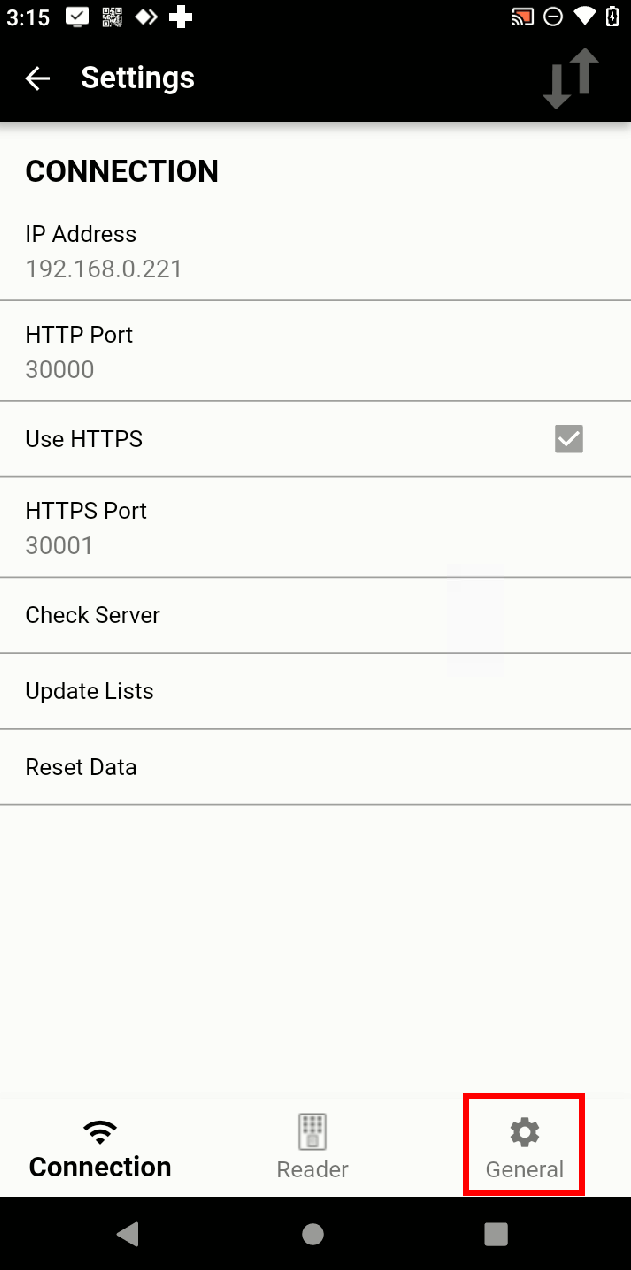
- Settings opens on the Connection Tap the General tab at the bottom-right of the screen.
- Tap Keylink Service.

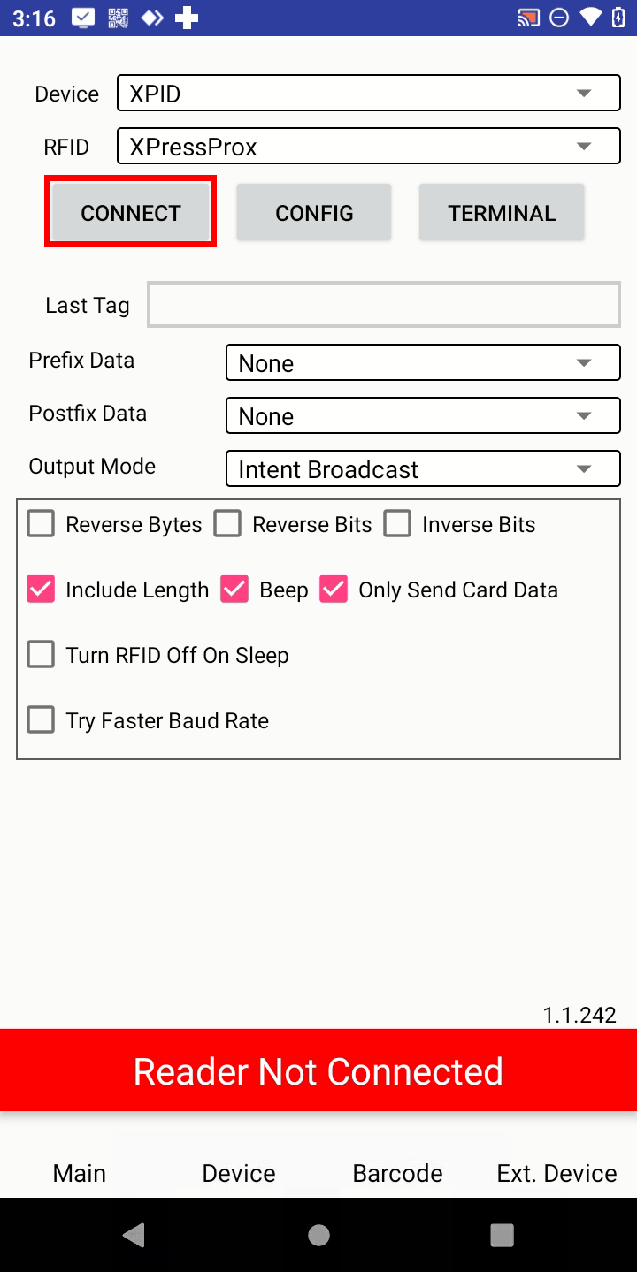
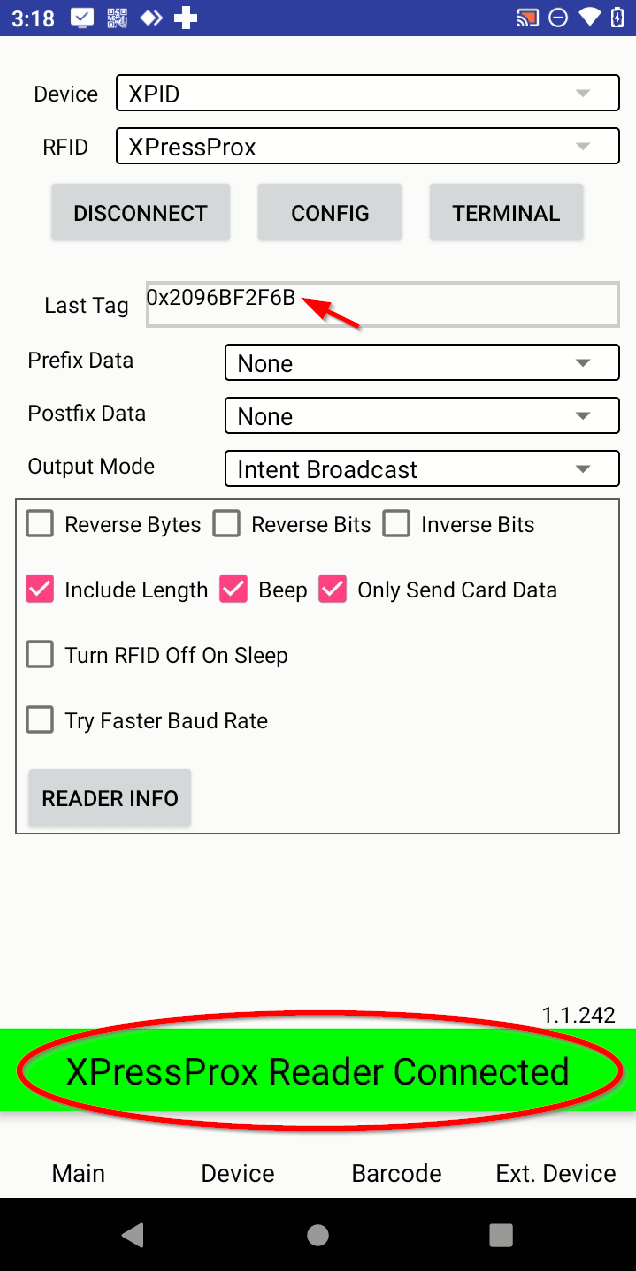
- On the Keylink Service screen, confirm Device is set to XPID and RFID is set to XPressProx, then tap CONNECT. Before connecting, the status bar at the bottom shows Reader Not Connected in red.
- Once connected, the status bar turns green and reads XPressProx Reader Connected. When a badge is scanned, its value appears in the Last Tag field (for example, 0x2096BF2F6B), confirming the reader is reading cards.
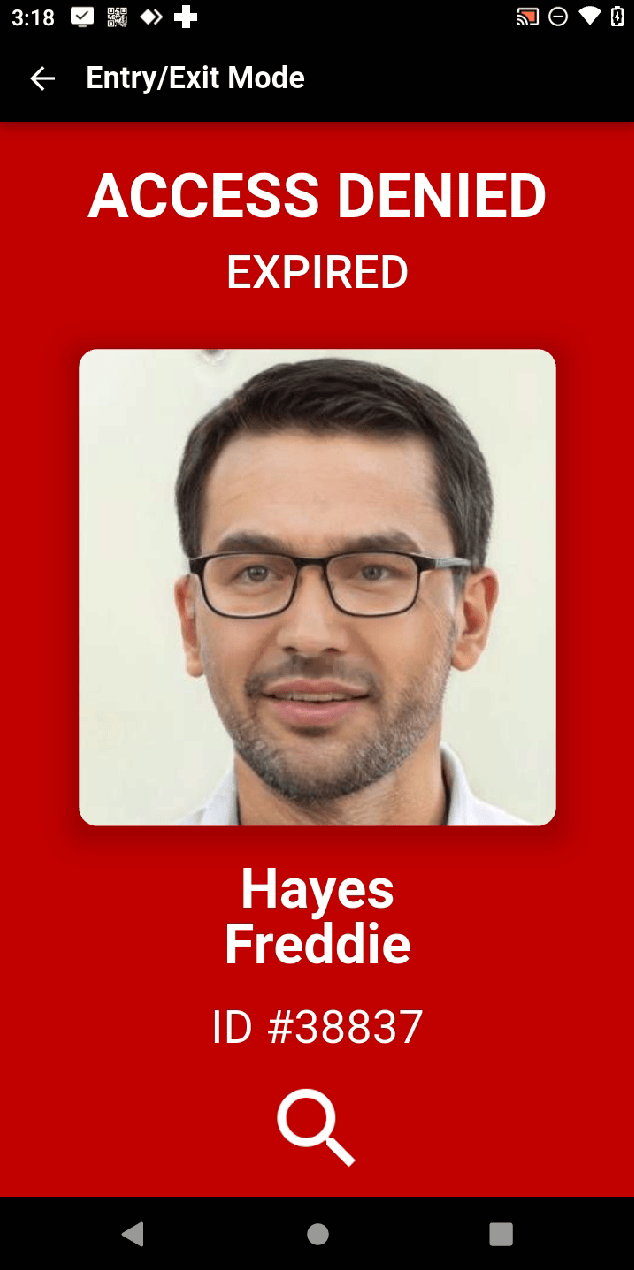
- Use the back arrow to return to Entry/Exit Mode. The reader is now active. Present a badge and XPressEntry will read it and display the access decision — cardholder name, ID, and an Access Granted or Access Denied result (the example below shows an expired badge).
Tips & Troubleshooting #
- Status stays red? Re-check that Device = XPID and RFID = XPressProx, then tap CONNECT again. If it still fails, tap DISCONNECT, wait a moment, and reconnect.
- No Last Tag value when scanning? The reader may not be connected — confirm the green “Reader Connected” banner before testing a badge.
- Keylink status check. From the General tab you can tap Keylink Status to verify the service is running.
- Still need help? Tap READER INFO on the Keylink Service screen to view reader details for further diagnostics and send this information plus your badge card model to [email protected].


