XPressEntry Demo
Try
 Now!
Now!
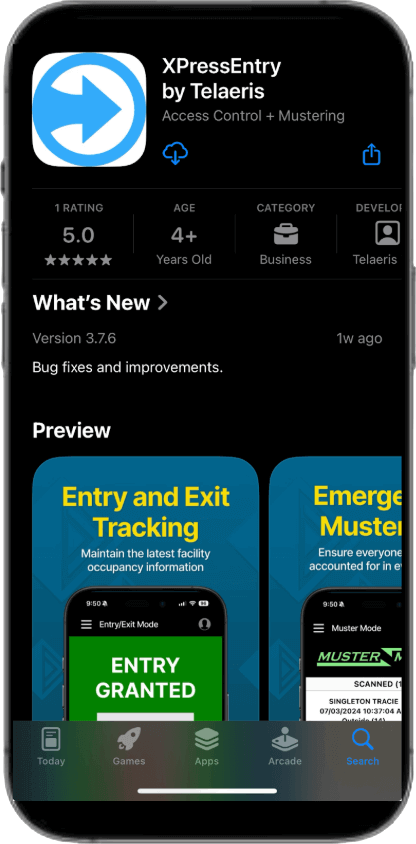
This XPressEntry Demo guide will help you experience XPressEntry from a compatible Android or iOS device. This demo experience requires both a computer screen to follow instructions and a smartphone for badge scanning activities.
IMPORTANT: Please note that this demo experience is limited because Android and iOS devices can only scan NFC credentials and barcodes / QR codes out of the box.
Download now from Apple App Store and Google Play


What You Will Experience
This demo will allow you to simulate the most common XPressEntry use cases:
- Scanning credentials to allow entry
- Scanning a credential twice to show denied entry for repeat attempts
- Switching between doors or entrances to simulate a security guard workflow
- Tracking exits in real time
- Running a muster event to account for people during an evacuation
Meet Your Demo Employees
In this demo you will scan the badges of four sample employees. Each has different roles and permissions to help demonstrate real-world access control scenarios.
-
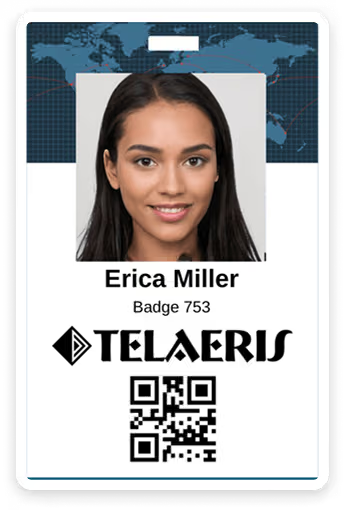 Erica Miller
Administration
Authorized for entry at the executive office. Demonstrates a standard successful badge validation.
Erica Miller
Administration
Authorized for entry at the executive office. Demonstrates a standard successful badge validation.
-
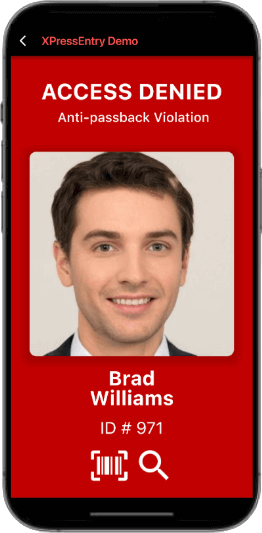
 Brad Williams
IT
Authorized for entry, but scanning his badge a second time will be denied to show duplicate-entry prevention.
Brad Williams
IT
Authorized for entry, but scanning his badge a second time will be denied to show duplicate-entry prevention.
-
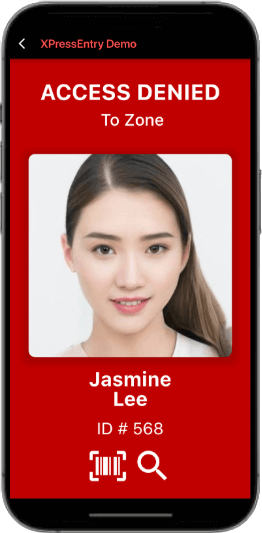
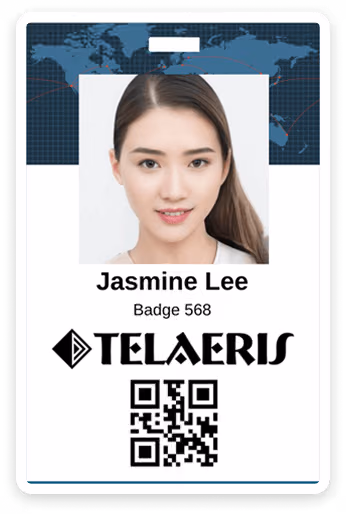 Jasmine Lee
Engineering
Not authorized for the executive office entrance. Demonstrates an access denied event.
Jasmine Lee
Engineering
Not authorized for the executive office entrance. Demonstrates an access denied event.
-
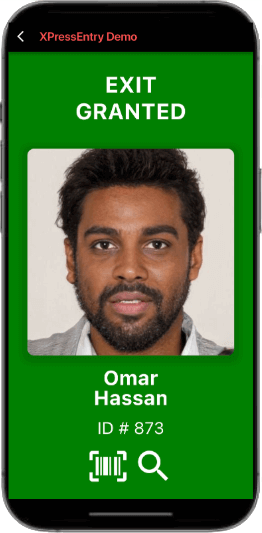
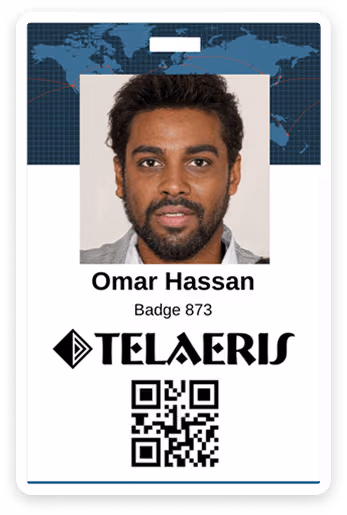 Omar Hassan
Facilities
Authorized for all areas and included in muster reporting. Useful for testing evacuation accountability.
Omar Hassan
Facilities
Authorized for all areas and included in muster reporting. Useful for testing evacuation accountability.
Download and open the XPressEntry app.


XPressEntry demo has been pre-configured with:
- The Security Badges on the right simulating users enrolled in the the access control system.
- Entry / Exit Mode with the Lobby Entrance by default.
Note : If you leave the demo, go to "advanced options" --> "open demo mode"
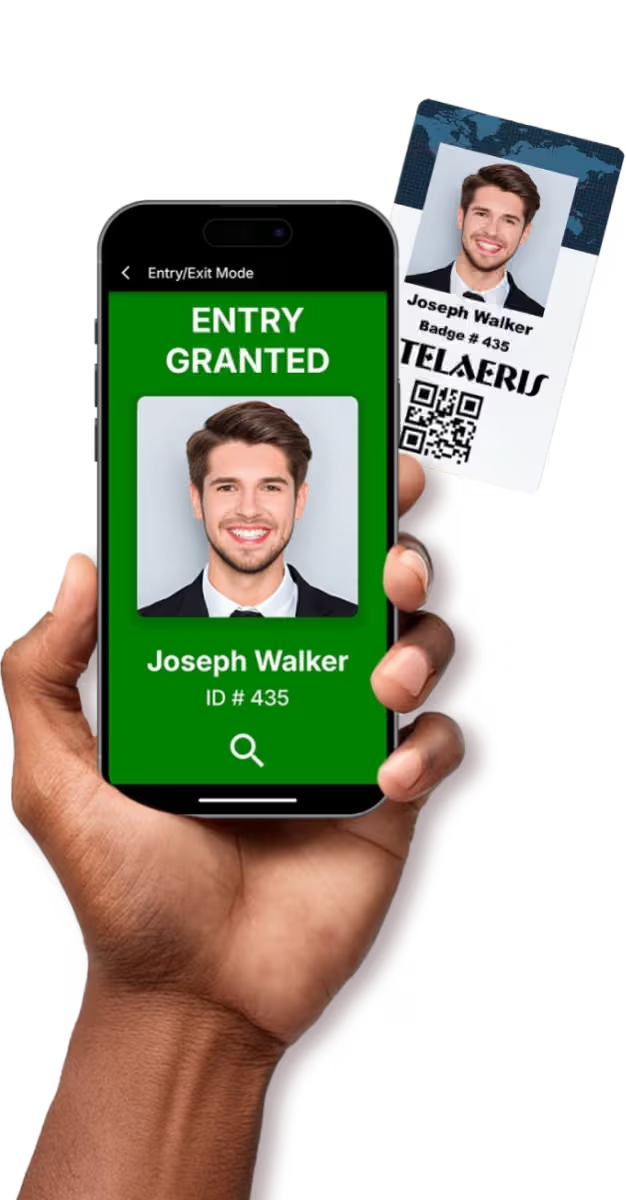
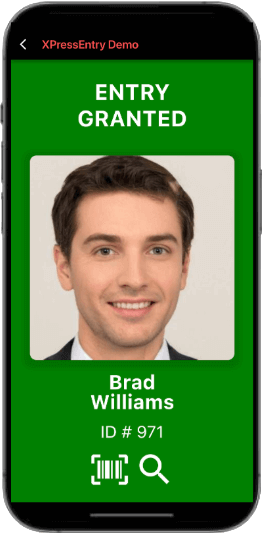
Scan a Badge - Entry Granted
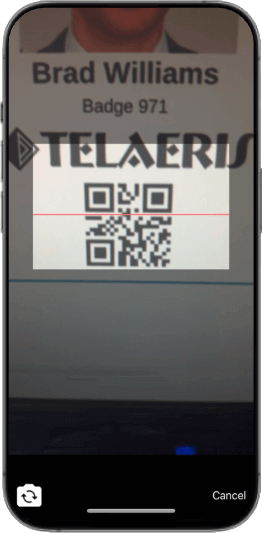
Tap the Barcode Icon to activate the device camera.
Scan a Badge Twice - Duplicate Entry Denied (Anti-Passback)
Scan the Security Badge QR codes on the right one-by-one.Tip: It helps to hold the phone close to the badge / QR code to control which badge you are scanning.
Scanning the Security Badge QR code:
- Verifies credential and permissions to access the Lobby Entrance against the info on record in the access control system.
- Enables Security Guards to visually verify identity.
- Records the Entry activity in the access control system (Entry Tracking).
All four (4) persons now occupy the Lobby zone.
What happens if a user tries to re-enter using a previously scanned Security Badge at the same entrance?
Scan a Badge – Access Denied at Executive Office
Tap the Barcode Icon to activate the device camera and scan the Security Badge QR Codes that were previously allowed access to the Lobby Entrance.
XPressEntry’s Anti-Passback feature has been enabled to prevent the same Security Badge to be used to enter twice to enhance physical security. This feature can be turned-off if necessary.
All four (4) persons continue to occupy the Lobby zone.
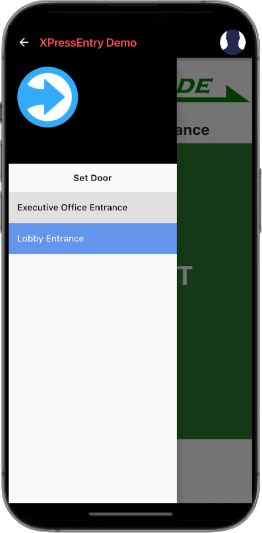
XPressEntry can dynamically switch between Doors / Entrances making it easy for Security Guards to manage any workplace entrance. XPressEntry will automatically apply the appropriate user / employee permission to the new door selected.
Now imagine that the Security Guard needs to change positions to the inner Executive Office Entrance.
Scan a Badge - Entry Granted at Another Door
Tap the Menu Icon (in the upper left hand corner) --> Set Door --> Executive Office Entrance.
Switch Entrances
Tap the Barcode Icon to activate the device camera and scan the Security Badge QR codes to Verify Identity, Verify Permissions to access the inner Executive Office Entrance, and record the Entry activity in the access control system (Entry Tracking).
As a result of the pre-configured permissions, one (1) of the badges was denied access to the inner Executive Office Entrance and that person remains in the Lobby Entrance zone. The other three (3) persons now occupy the Executive Office zone.
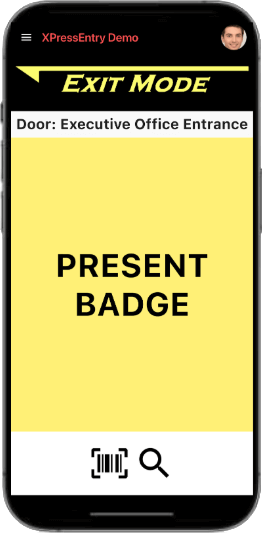
Let’s simulate Exit tracking from the Executive Office Exit back to the Lobby Zone.
Track Exits
Tap the green Present Badge screen area to switch to Exit Mode.
View Current Occupants
Tap the Barcode Icon to activate the device camera and scan the Security Badge QR codes of the previously three (3) persons allowed to enter the Executive Lobby Entrance to Verify Identity, Verify Permissions to access the inner Executive Office Entrance, and record the Exit activity in the access control system (Exit Tracking).
All four (4) persons now occupy the Lobby zone.
Let’s now simulate an emergency evacuation and Muster event.
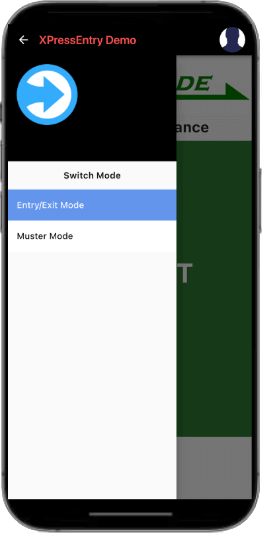
Start a Muster Event
Tap the Menu Icon (in the upper left hand corner) --> Switch Mode --> Muster Mode.
Muster Mode assumes that an emergency evacuation has begun. XPressEntry has been pre-configured with twelve (12) of sixteen (16) workers badged-in onsite to simulate the workplace occupancy. Now imagine accounting for workers as Safely Evacuated from a muster point or assembly area in accordance with OSHA / regulatory guidelines.
Scan Badges During Muster
Tap the Barcode Icon to activate the device camera and scan the Security Badge QR codes to quickly account workers as safely evacuated. For faster scanning between badges, tap the screen once to reset, then tap the Barcode Icon again to continue scanning.
All four (4) Security Badges have been accounted as Safely Evacuated.
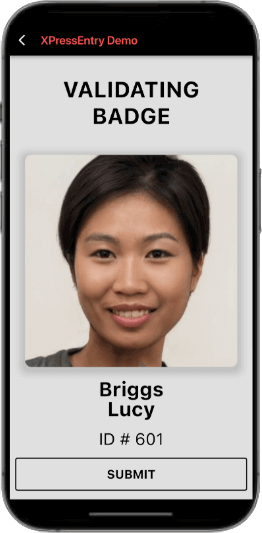
What happens if someone at the muster point or assembly area forgot their badge? An operator can manually Muster any user in the system. They can manually search for the user using the search icon or tap the missing person from the missing list in XPressEntry to verify as Safely Evacuated.
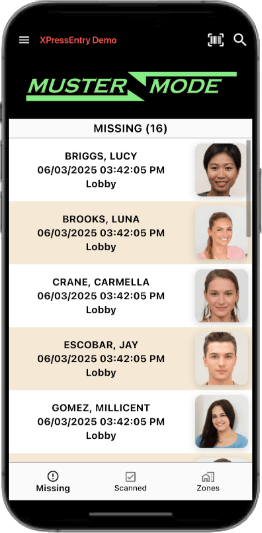
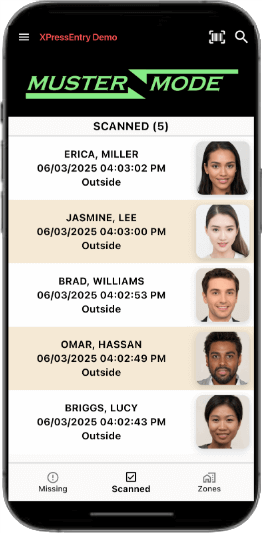
Review Muster Results
Scroll through the Missing list or tap the search icon (in the upper right hand corner) and search by name to locate the person to Muster. Then tap on the person --> Submit to track as Safely Evacuated.
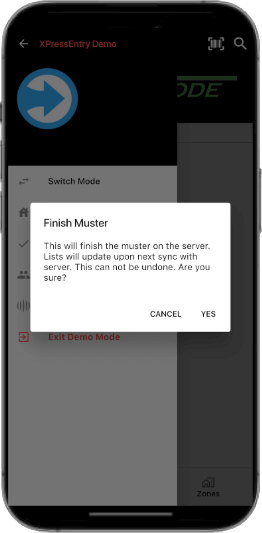
Finish the Muster
At the bottom, tap Scanned to see the four (4) persons with the Security Badge QR codes and the one (1) person who was manually Mustered.
Let’s assume that the emergency evacuation is complete and it is time to end the Muster event.
Exit Demo Mode
Tap the Menu icon (in the upper left hand corner) --> Finish Muster --> YES.
This ends the Muster event, updates lists, and creates a Muster event report available in the XPressEntry Server / Web Console.
This concludes the XPressEntry Demo Guide. Tap the Menu Icon (in the upper left hand corner) --> Switch Mode --> Entry/Exit Mode and return to Step 2 to try these exercises again.
Ready to talk to a sales expert for a live demo and to learn more?
CLICK HERE to contact us.