The XPressFreedom board does not come preloaded with a static IP Address set. If you wish to assign a static IP Address to the XPressFreedom board, you must first use a DHCP server to assign a dynamic IP to the board. Then you can access the programming page from a standard browser to assign a static IP Address.
Assigning the Dynamic IP Address: #
With a Router: #
Begin by plugging power into the XPressFreedom Board. Plug the ethernet cable into the port on your XPressFreedom Board and an ethernet port on your network. This can be done by plugging directly into the router or into a network switch that is connected to the router.
The XPressFreedom board will obtain a dynamic IP Address automatically from the router. From there, you may connect to the programming page using any computer that is on the same network.
Without a Router: #
To do this we’ll need four things
- admin privileges on a windows machine
- DHCP Server application: dhcpsrv2.5.2
- XPressFreedom Board
- Standard Ethernet cable
Begin by plugging power into the XPressFreedom Board. Plug the ethernet cable into the port on your XPressFreedom Board and the Ethernet port in your computer.
Open the dhcpsrv2.5.2.zip file and extract all files.
Run dhcpwiz.exe.
Use the standard settings shown in the installer.
Then Write INI file.
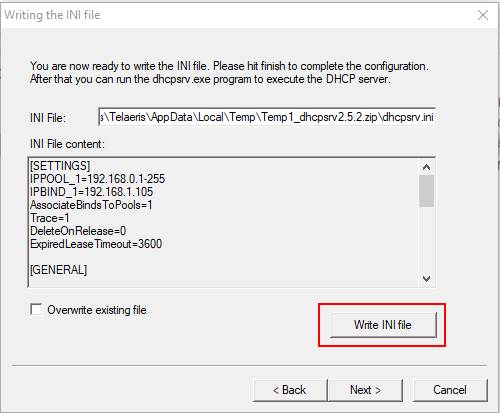
Finish.
Turn off WiFi or ethernet to your network.
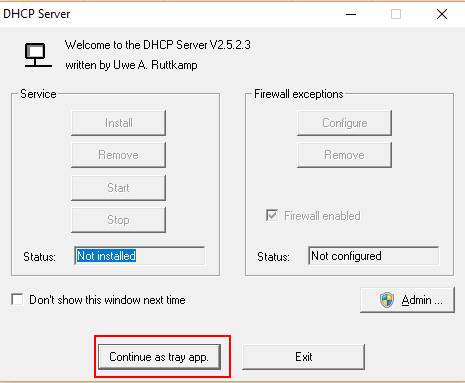
Run dhcpsrv.exe.
Run as Tray Application
This should quickly assign a dynamic IP Address to the XPressFreedom board.
Make sure to close DHCP server at the end.
You may now turn WiFi or ethernet back on.
Program a static IP Address: #
Now that you have assigned a dynamic IP Address to the board, you can program a static IP Address.
You will need the IP address displayed on the XPressFreedom board.
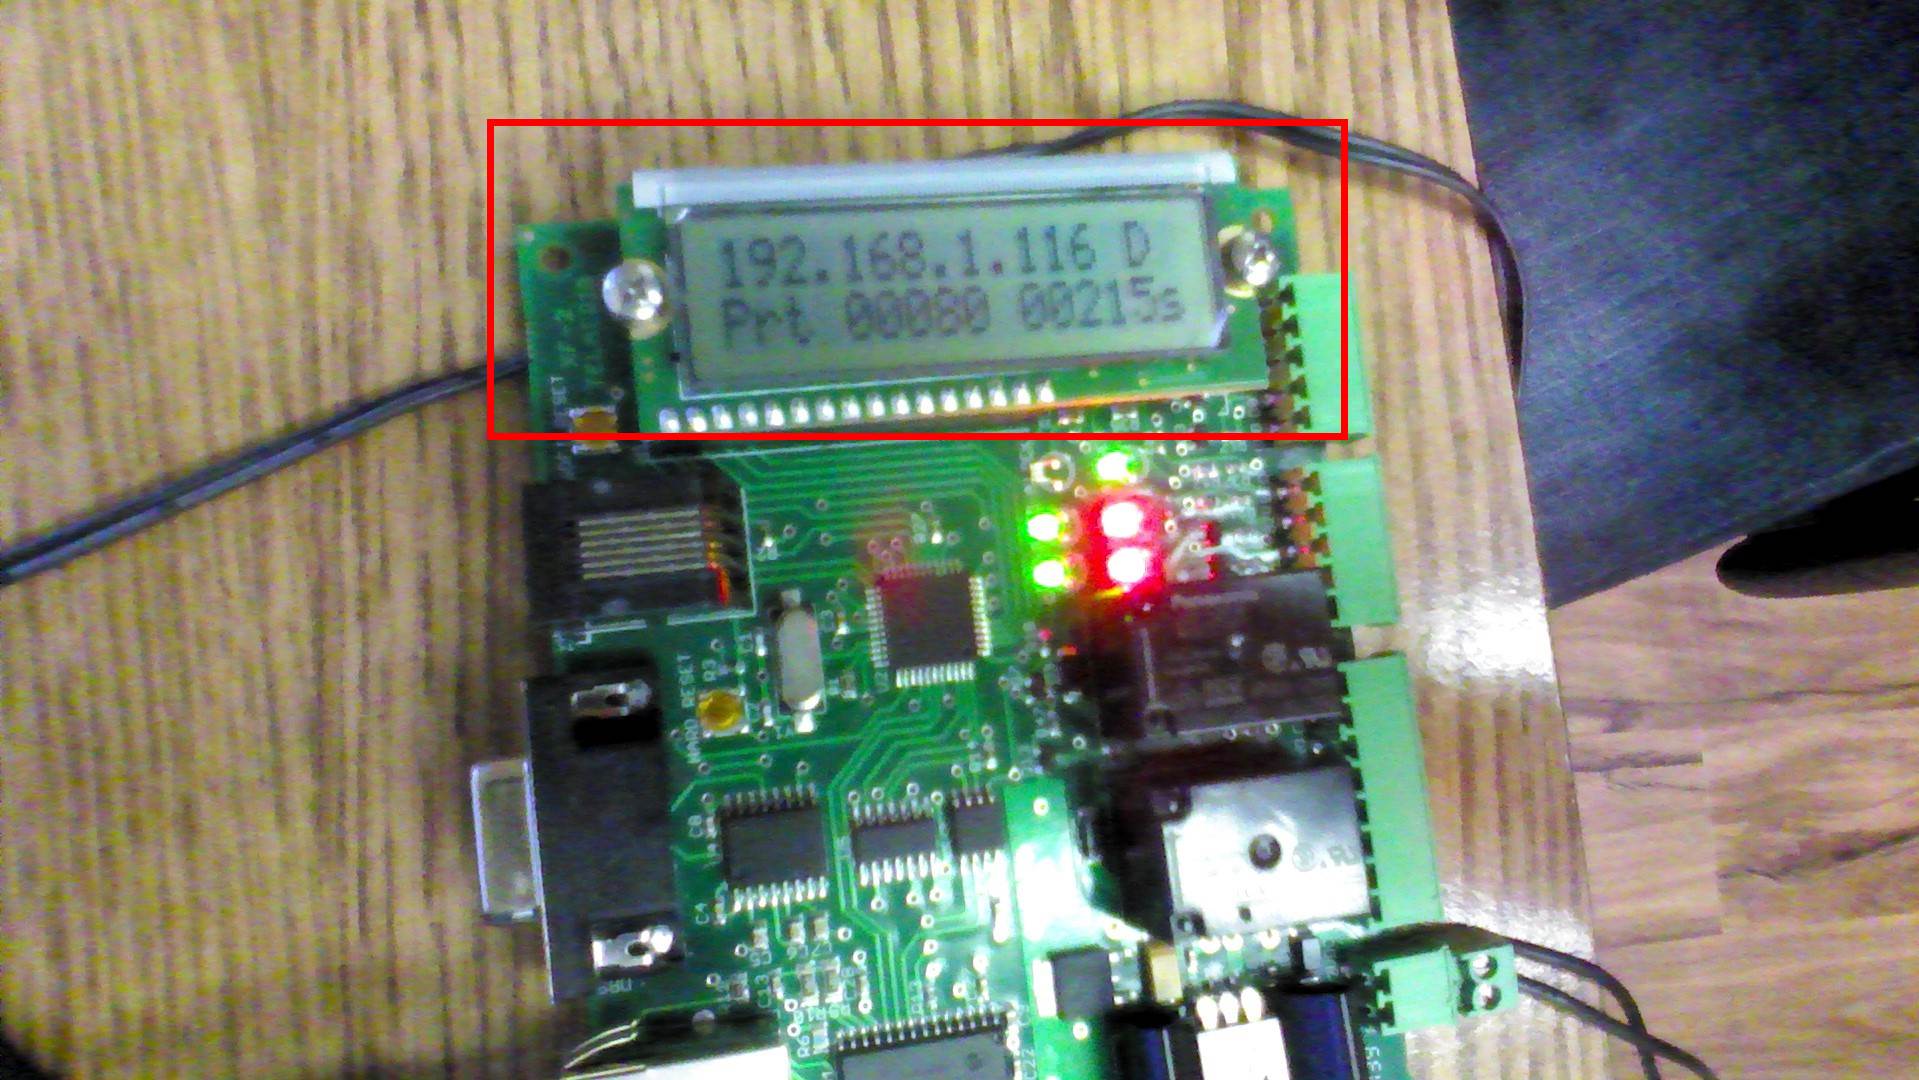
Type the IP Address displayed into your browser until you see this page:
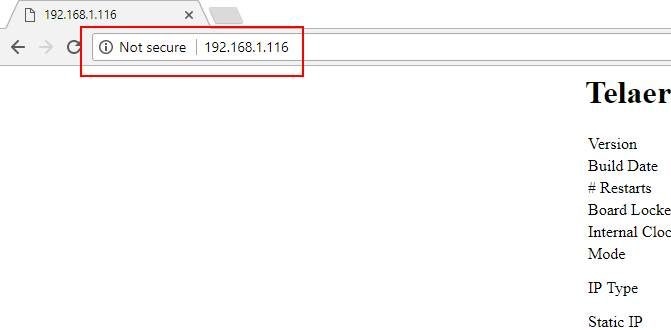
*Note: The address that you type into the address bar of your browser must be of a http://xxx.xxx.xxx.xxx form (Where the x’s are your dynamic IP Address) and not https://xxx.xxx.xxx.xxx. Some browsers may auto fill the address bar correctly by only typing the IP address (Chrome for instance).
Select STATIC under the IP Type and enter your desired static IP Address into the Static IP textbox.

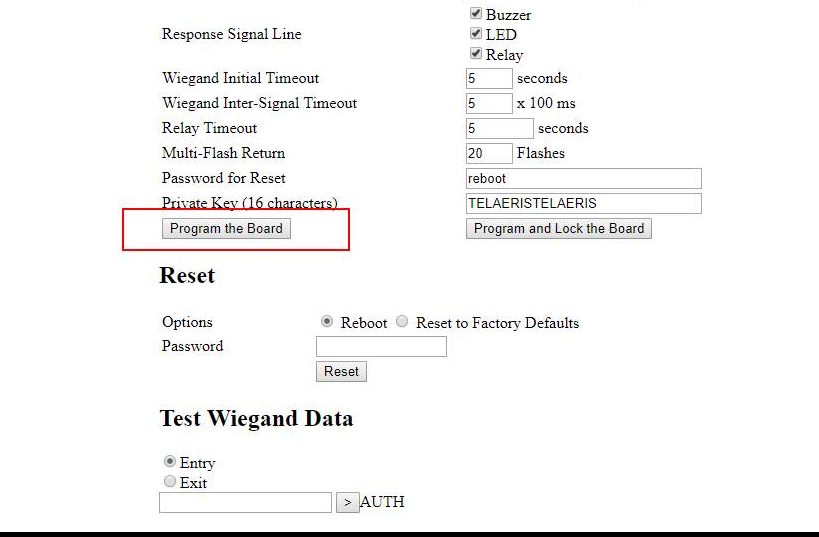
Click the Program the Board button to save the static IP to the board.
*Note: If you wish to reprogram the XPressFreedom board, you will have to enter the new static IP into the browser to access this page.
CONGRATULATIONS! You have successfully assigned a static IP Address to your XPressFreedom board!