XPressEntry – Galaxy Documentation

1.Purpose
This document is intended to instruct the user on how to synchronize an XPressEntry mobile access control system with a Galaxy Control Systems access control system(GCS).
This will allow XPressEntry to have a copy of the Cardholders and Cards and their access privileges from Galaxy. It will synchronize the loops and selected readers. It allows activities from XPressEntry to be added to the Galaxy activity archive and made available for searching within GCS.
1.1.Assumptions
This document makes a few assumptions:
- The reader is familiar with XPressEntry systems and terminology. Basic setup and usage of XPressEntry can be found in the main XPressEntry manual
- The reader has a basic understanding of Microsoft SQL Server Management Studio.
- The Galaxy installation is administered by someone with knowledge and access to SQL Server commands.
- The user installing this system has Administrator privileges on the GCS machine.
1.2.Installation
We will not cover installation of either XPressEntry or GCS here. Refer to the appropriate manual to get that set up.
2.Installing the Galaxy API Service
Telaeris has designed and implemented an API service for the Galaxy system. It should be available as GalaxyAPISetup.13.msi. The purpose of this service is to secure and control the data to/from the GCS system.
2.1.Galaxy API Service
Installing the Galaxy API can be as simple as running the installer on the Galaxy Host PC. This will install a service: Galaxy API. It does not start the service.
2.1.1.Galaxy API Setup Application
This service can be Started and set up from the “C:\Program Files (x86)Telaeris\Galaxy API\ GalaxyServiceSetup.exe” application.
There are two main settings here
- Verify API is running. Go to Services. Check that Galaxy API is installed and running. If it’s not running, start the service.
- (optional) Set up XPressEntry Handheld Reader Type and Readers.
2.2.Handheld Readers
For every physical XPressEntry handheld reader, there should exist a reader in Galaxy. It is suggested that a Reader Type be added explicitly for XPressEntry Handhelds. The XPressEntry DataManager can filter the readers it downloads based off of these types.
3.XPressEntry Enable Synchronization
From the main page of XPressEntry, go to XPressEntry / Settings (CTRL+S)
&bnsp;

3.1.Data Manager Tab
From the Settings Page Select the Data Manager Tab
From the ‘Type’ Combo Box, select “Galaxy”.
Set the Update Frequency to as often as you want the system to update.
Select the Log Level desired. When setting up the system, SQL is the suggested Log Level. Once the system is up and functional as desired, CRITICAL should be the default Log Level.
The “Activity Synchronizing” section contains two options.
- Sync Data Manager Activities with XPressEntry – If you plan on tracking user occupancies for Mustering on the handhelds, you should check this option.
- Sync XPressEntry Activities to Data Manager – If you want the activities from the XPressEntry Handhelds to show up in Galaxy, you should check this option.
All of these options can be changed at any time. Changing any option will immediately take effect.
3.2.Galaxy Setup Page
Press the “Setup Data Manager” button to get the Galaxy specific setup screen.
Press OK and check the logs to see if Synchronization is working.
4.Setup XPressEntry Data
Once the Galaxy System is set up and synchronized, you will see all of this data in XPressEntry under the Add/Edit Info tab. Data which is imported from Galaxy cannot be changed and is Grayed out by default.
4.1.Priority of Data Synchronization
Any changes made in Galaxy should be shown in XPressEntry in the following order:
Highest Priority: Badge/User/Zone Occupancy changes are updated immediately.
Lower Priority: Door/Reader/Area/XPressEntry Activities/User Permissions will be updated whenever the Data Manager Synchronizer runs. This can be run manually from the Settings page -> Data Manager tab by pressing “Update Tables”.
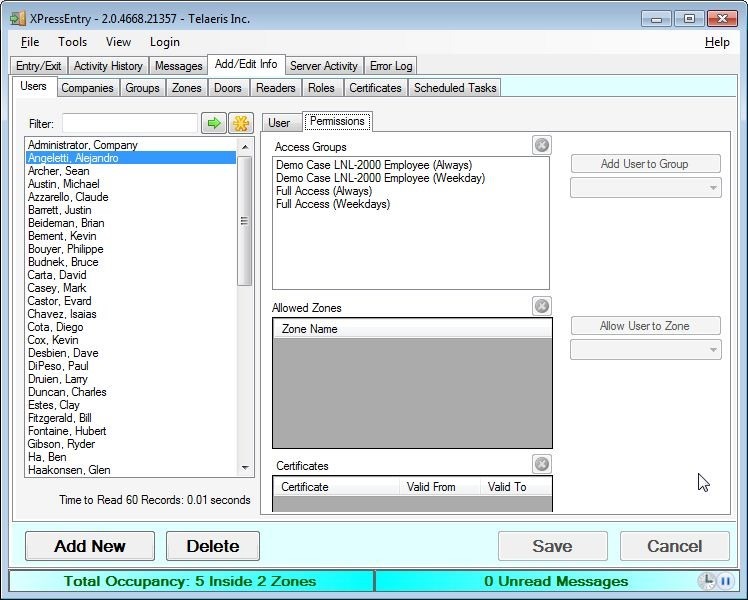
4.2.Users
Here is a sample of a properly synchronized user:

Those users have the same AccessLevel Permissions from Galaxy:
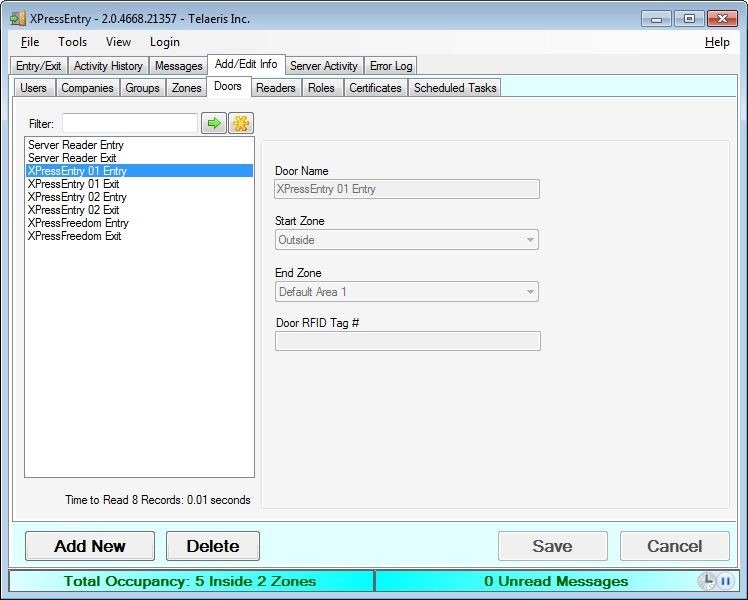
4.3.Doors
Each “Reader” in Galaxy will be a Door in XPressEntry.
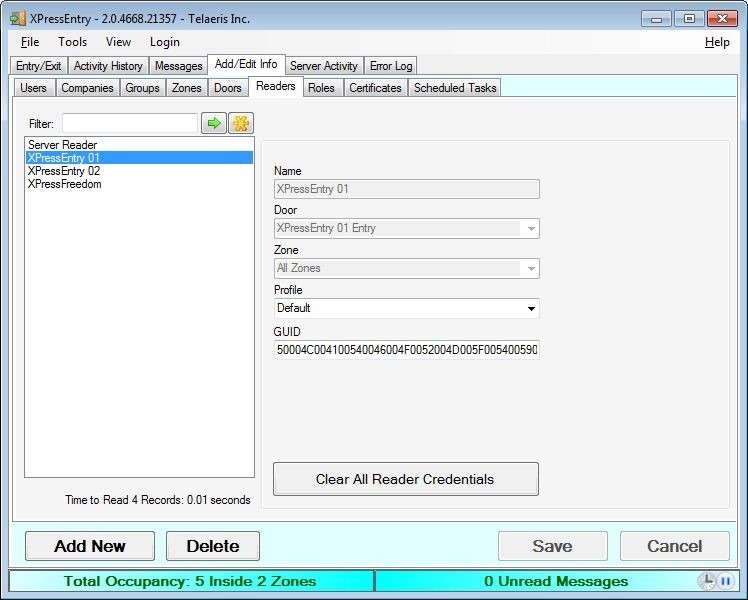
4.4.Readers
Each Reader in XPressEntry which is imported from Galaxy will be automatically paired based on name if you set up the Readers in XPressEntry first. If you did not set up the XPressEntry readers first, you must merge each physical reader (identified by a GUID) with the logical reader imported from Galaxy. Simply select the physical reader initially identified by its GUID from the drop-down list and press “Perform Merge”.
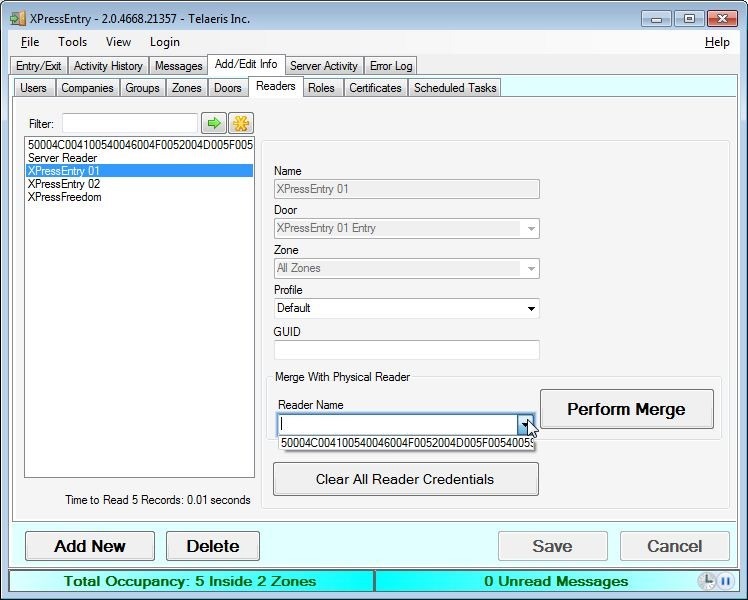
The physical reader will be removed and the Galaxy reader will have that identity from now on.